Full-moon & event summits 2026–2028 · join a group departure →
Trek Up Kilimanjaro
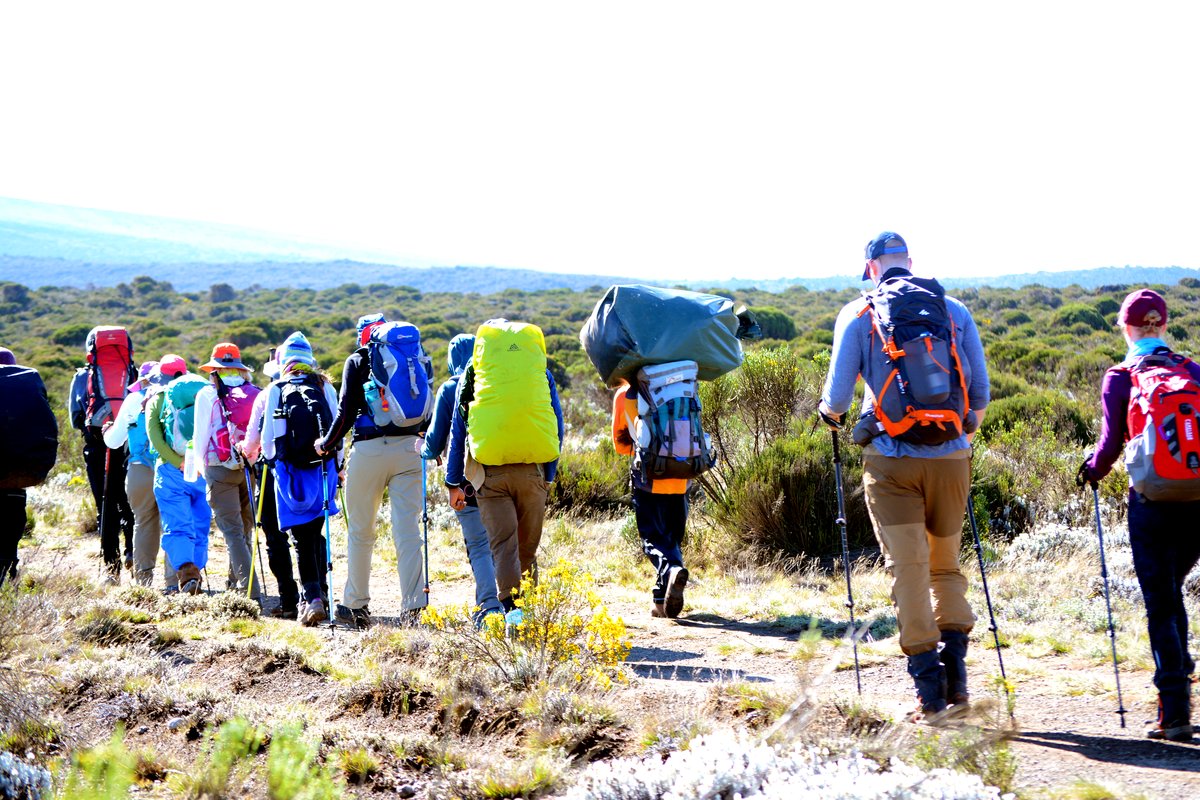
A wide view of climbers strung out along the trail

Northern Circuit Route

The longest route on Kilimanjaro and the strongest acclimatisation profile available. If you have nine days, this is the most conservative way up.

In short

The Northern Circuit starts on Lemosho, then swings around the rarely walked northern slopes before approaching the summit from the east. It is the only route that shows you the mountain from all four sides.

What it does well

  • The most gradual altitude gain of any route on the mountain.
  • The northern slopes are the quietest ground on Kilimanjaro.
  • The only route that circles the entire mountain.
  • More time on the mountain means more margin if a day goes badly.

What to weigh up

  • The most expensive route, because of the number of days inside the park.
  • Nine days is a significant amount of leave to arrange.
  • Several long walking days in the middle of the itinerary.

Route facts

9 days
Recommended length
84 km
Total distance
5,895 m
Highest point
West
Approach side
Mweka
Descent route
Camping
Sleeping
Challenging but well paced
Difficulty
Jan · Feb · Mar · Jun · Jul · Aug · Sep · Oct
Best months

The altitude profile

Circles mark sleeping altitudes. Those are what your body adapts to — the high points you walk over during the day matter far less.

Northern Circuit Route elevation profile Route Sleeping altitude
Northern Circuit Route elevation profile. Full data is given in the table below. 2,000 m 3,000 m 4,000 m 5,000 m 6,000 m Mti MkubwaCamp 2,650 Shira 1Camp 3,610 Shira 2 /Moir area 4,200 BuffaloCamp 4,020 Third Cave 3,870 School Hut 4,750 Uhuru Peak 5,895 MillenniumCamp 3,820 Mweka Camp 3,100
Northern Circuit Route elevation profile
Day Location Altitude (m) Distance (km) Overnight
1 Londorossi Gate 2,100 0 No
1 Mti Mkubwa Camp 2,650 6 Yes
2 Shira 1 Camp 3,610 14 Yes
3 Shira 2 / Moir area 4,200 24 Yes
4 Buffalo Camp 4,020 36 Yes
5 Third Cave 3,870 44 Yes
6 School Hut 4,750 49 Yes
7 Uhuru Peak 5,895 58 No
7 Millennium Camp 3,820 67 Yes
8 Mweka Camp 3,100 74 Yes
9 Mweka Gate 1,640 84 No

The route, camp by camp

As walked on our 9 Days Northern Circuit Route itinerary, with the altitudes it gives.
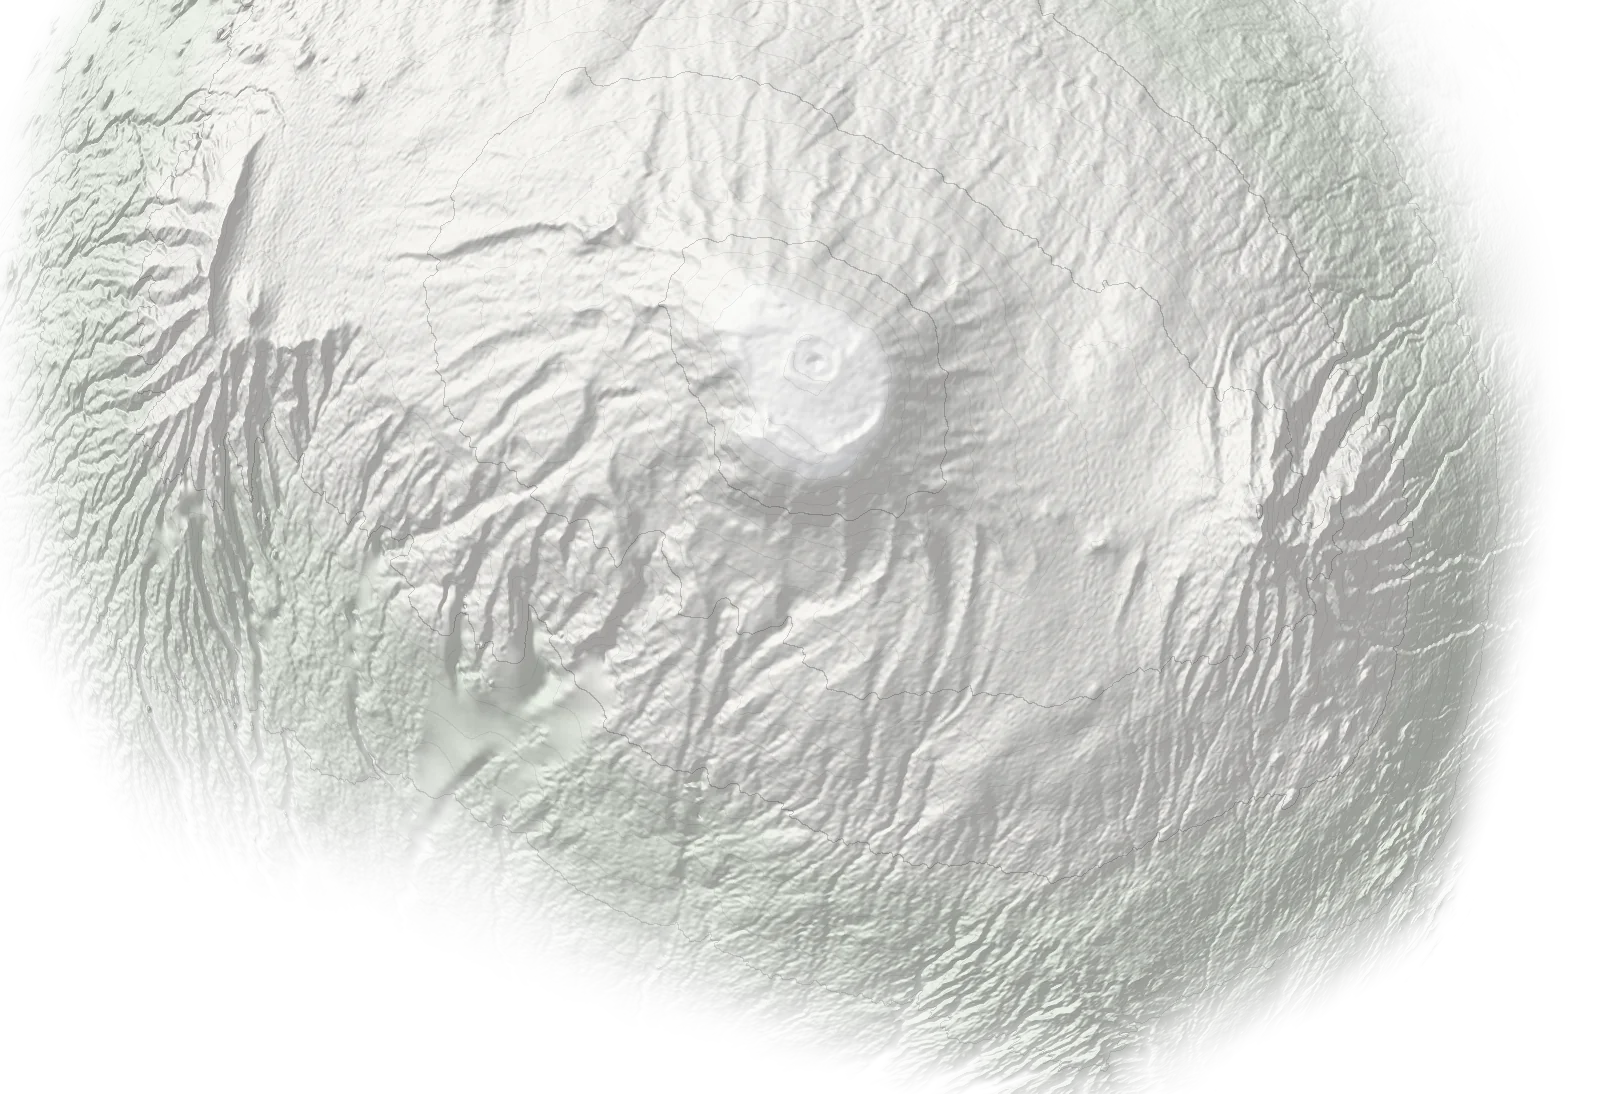
N Mawenzi Londorossi Gate2,100 m Mti Mkubwa2,650 m Shira 1 Camp3,610 m Moir Hut Camp4,200 m Buffalo Camp4,020 m Third Cave Camp3,870 m School Hut4,750 m Uhuru Peak5,895 m Millennium Camp3,820 m Mweka Camp3,100 m Mweka Gate1,640 m
Ascent Descent Overnight camp Schematic map, not to scale: positions are approximate and not for navigation. Altitudes are from our itineraries. Terrain: SRTM (NASA), via Terrain Tiles on AWS.
  1. 01 Londorossi Gate gate 2,100 m
  2. 02 Mti Mkubwa (Big Tree) Camp camp 2,650 m
  3. 03 Shira 1 Camp camp 3,610 m
  4. 04 Moir Hut Camp hut 4,200 m
  5. 05 Buffalo Camp camp 4,020 m
  6. 06 Third Cave Camp camp 3,870 m
  7. 07 School Hut hut 4,750 m
  8. 08 Uhuru Peak summit 5,895 m
  9. 09 Millennium Camp · descent camp 3,820 m
  10. 10 Mweka Camp · descent camp 3,100 m
  11. 11 Mweka Gate · descent gate 1,640 m

Day by day

These are the days of our 9 Days Northern Circuit Route.

01

Londorossi Gate to Mti Mkubwa Camp

  • 2,100 m → 2,650 m
  • 6 km
  • 3–4 hrs
  • Rainforest
↑ 550 m gained
A controlled first day through montane forest, focused on settling into expedition pace.
From
Londorossi Gate
To
Mti Mkubwa Camp
Sleeping altitude
2,650 m (8,694 ft)
02

Mti Mkubwa to Shira 1 Camp

  • 2,650 m → 3,610 m
  • 8 km
  • 5–6 hrs
  • Heath
↑ 960 m gained
Climb out of the forest and onto the expansive Shira Plateau.
From
Mti Mkubwa
To
Shira 1 Camp
Sleeping altitude
3,610 m (11,844 ft)
03

Shira 1 to Shira 2 / Moir area

  • 3,610 m → 4,200 m
  • 10 km
  • 4–6 hrs
  • Moorland / alpine desert
↑ 590 m gained
Cross the plateau with optional acclimatization above camp, depending on conditions and group health.
From
Shira 1
To
Shira 2 / Moir area
Sleeping altitude
4,200 m (13,780 ft)
04

Moir area to Buffalo Camp

  • 4,200 m → 4,020 m
  • 12 km
  • 5–7 hrs
  • Alpine desert
Turn onto the quiet northern flank, traversing beneath the Lent Hills into a much less visited part of Kilimanjaro.
From
Moir area
To
Buffalo Camp
Sleeping altitude
4,020 m (13,189 ft)
05

Buffalo Camp to Third Cave

  • 4,020 m → 3,870 m
  • 8 km
  • 4–6 hrs
  • High moorland
A rolling traverse with broad views toward Kenya. The slightly lower sleeping altitude supports recovery.
From
Buffalo Camp
To
Third Cave
Sleeping altitude
3,870 m (12,697 ft)
06

Third Cave to School Hut

  • 3,870 m → 4,750 m
  • 5 km
  • 4–5 hrs
  • Alpine desert
↑ 880 m gained
Climb steadily to the final high camp. Rest, hydrate and prepare for the midnight summit departure.
From
Third Cave
To
School Hut
Sleeping altitude
4,750 m (15,584 ft)
07

School Hut to Uhuru Peak to Millennium Camp

  • 4,750 m → 3,820 m
  • 18 km
  • 12–16 hrs
  • Arctic summit to moorland
↑ 1,145 m gained ↓ 2,075 m descended Sleeps 3,820 m
Ascend toward Gilman’s Point, continue around the crater rim to Uhuru Peak, then descend via Barafu toward Millennium Camp.
From
School Hut
To
Millennium Camp
Sleeping altitude
3,820 m (12,533 ft)
Highest point
5,895 m
08

Millennium Camp to Mweka Camp

  • 3,820 m → 3,100 m
  • 7 km
  • 3–4 hrs
  • Moorland to rainforest
A deliberately easier recovery day after summit, descending into thicker vegetation.
From
Millennium Camp
To
Mweka Camp
Sleeping altitude
3,100 m (10,171 ft)
09

Mweka Camp to Mweka Gate

  • 3,100 m → 1,640 m
  • 10 km
  • 3–4 hrs
  • Rainforest
Complete the final forest descent and return to Moshi after certificate formalities.
From
Mweka Camp
To
Mweka Gate

What is and is not included

As listed on our 9 Days Northern Circuit Route. What the crew does and what we carry is the same on every itinerary we run here. The number of nights is not, and park fees are charged per night, so each climb page carries its own list.

What is included

Transfers

  • Airport pick-up and drop-off - Kilimanjaro International Airport (JRO) to/from your hotel
  • Private transfers to/from the mountain gate - Hotel to Kilimanjaro trailhead and exit gate to hotel

Meals & water

  • Pre & post-climb accommodation - 2 nights in Moshi (1 night before and 1 night after the climb) on Bed & Breakfast basis
  • Three freshly prepared meals per day on the mountain - breakfast, lunch and dinner
  • Nutritious snacks during the trek
  • Clean, purified drinking water throughout the climb
  • Hot water for washing each morning and evening where practical

Permits & park fees

  • Kilimanjaro National Park entrance fees
  • Camping fees
  • All applicable government taxes & VAT
  • Kilimanjaro summit certificate for successful climbers

Safety equipment

  • Kilimanjaro National Park rescue fees
  • Emergency supplemental oxygen
  • Pulse oximeter for monitoring blood oxygen saturation and pulse during the climb
  • First-aid kit and mountain emergency equipment
  • Daily health monitoring by the mountain guide
  • 24/7 emergency communication support between the mountain team and operations office

Guides & crew

  • Professional, licensed English-speaking Kilimanjaro mountain guide
  • Assistant mountain guides - according to group size
  • Professional mountain chef/cook
  • Porters - to carry group equipment, food and clients permitted duffel luggage
  • All mountain crew wages and salaries
  • Cooking tent and complete camp equipment
  • Private portable flush/chemical toilet with dedicated toilet tent and porter - throughout the trek

Camping equipment

  • Quality four-season mountain tents
  • Comfortable sleeping mattresses
  • Dining/mess tent with tables and chairs

Also included

  • Pre-climb briefing and equipment check
  • All logistical and operational support throughout the expedition

What is not included

  • International and domestic flights
  • Tanzania entry visa
  • Travel and medical insurance - clients should have appropriate coverage for high-altitude trekking up to at least 6,000 metres
  • Helicopter/air evacuation or specialist medical evacuation unless specifically included by the client insurance policy
  • Personal trekking equipment and clothing, including hiking boots, sleeping bag, down jacket, trekking poles, daypack and other personal gear
  • Equipment rental, unless specifically included in the quotation
  • Tips/gratuities for mountain guides, assistant guides, cook and porters
  • Lunch and dinner at the hotel before or after the climb unless specified
  • Soft drinks, alcoholic beverages and bottled drinks outside those specifically included
  • Personal snacks and energy bars brought by the client
  • Laundry services
  • Telephone calls, SIM cards, internet/data charges and other communication expenses
  • Additional hotel nights or transfers caused by flight changes, early arrival or late departure
  • Single-room or single-tent supplement, where applicable
  • Extra porter required for luggage exceeding the permitted mountain weight
  • Personal expenses such as souvenirs and shopping
  • Any activities, accommodation, meals, transfers or services not specifically stated in the itinerary
  • Costs arising from itinerary changes requested by the client or circumstances outside the company control

What it costs

Our 9 Days Northern Circuit Route, per climber. A smaller group pays more each because the crew, the vehicles and the camp cost the same however many of you there are.

Private climb prices by party size
Party size Per person
1 climber Private Solo Expedition — Maximum privacy. US$4,005
Scheduled group prices by party size
Party size Per person
2–4 climbers Small Group Rate — Shared value. US$3,690
5–7 climbers Group Discount Rate — Preferred group rate. US$3,375
8–10 climbers Best Group Rate — Best value per climber. US$3,150

Dates, group departures and the full price table

Who this route suits

A good fit for

  • Climbers who want the most time to acclimatise
  • Trekkers seeking solitude
  • Anyone who has struggled at altitude before
  • Photographers

Probably not for

  • Travellers on a tight schedule
  • Climbers on a tight budget

Itineraries on this route


Before you decide

At a glance

Acclimatisation 5/5
Trail traffic 5/5
Difficulty 3/5
Scenery 5/5